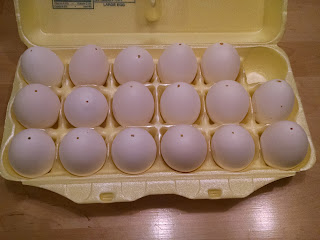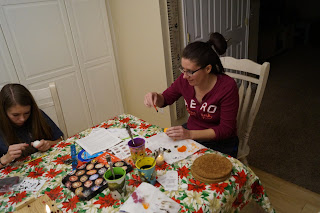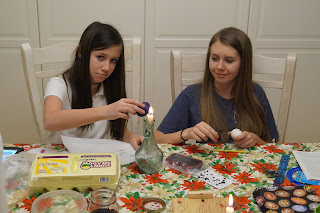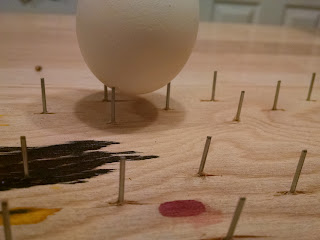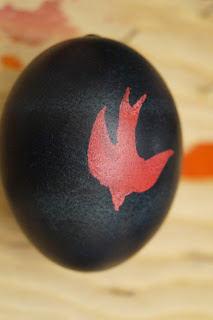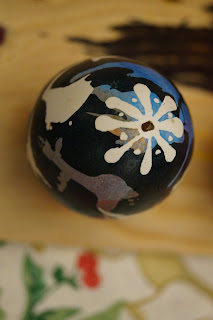
My husband's Family originates from the former Czechoslovakia. Growing up he made Ukrainian Easter Eggs with his family, and wanted to share this tradition with our girls. A few years ago we bought a kit and have been making these beautiful eggs ever since. I will warn you, they are time consuming and not a good idea for little kids or persons with certain special needs.
*There is a risk or getting burned and if you blow out your eggs salmonella.
You'll need:
Egg Dye (I recommend buying the kind made for these eggs)
Jars
Spoons
Kistkas (I recommend buying different size openings)
Drying rack
Vinegar
Water
Pencil
Paper towels
Optional:
Tablecloth
Old Clothes
Non-Latex Gloves
Polyurethane (Not water based or it will take the dye off)
You can use whole raw eggs, over the years the insides will dry out. I wouldn't break it though.
Here's a link to the egg blower we used Marge's Egg Blower.
Here's a link to the egg blower we used Marge's Egg Blower.
We bought this starter kit, it has almost everything you need.
Her the link Luba's Ukrainian Easter Egg Decorating Kit.
Her the link Luba's Ukrainian Easter Egg Decorating Kit.
Make your dye, following the directions on the package. The ones we used requires boiling and cooling, so allow time for this. You will want a light color, medium color, and dark color.
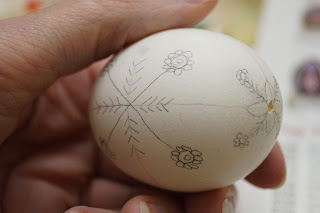
Using a pencil, section off your egg. Try not to use your eraser until after the dyeing process, it could effect the way the dye adheres to the egg.
Using a pencil, draw your design on the egg.
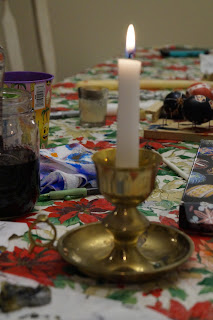
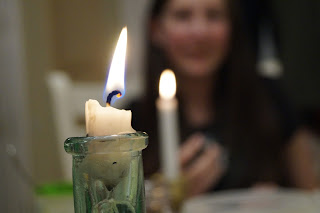
Using a candle get the tip or metal part of the kistka hot.
Take all precautions with the candle not to start a fire or burn yourself or others.
Take all precautions with the candle not to start a fire or burn yourself or others.
Dip the kitska into the beeswax filling the back end.
If there is wax melted all over the tip wipe it off.
Using the kistka, fill in and seal of the holes where you blew out the egg.
Using the kistka draw over the pencil lines you want white, and fill in any section of the egg you want white.
Once all the sections you want white are completely covered in wax, dip the egg in the lightest color.
The egg will float, use a spoon to hold the egg down into the dye.
Once the color is the desired shade, remove from the dye.
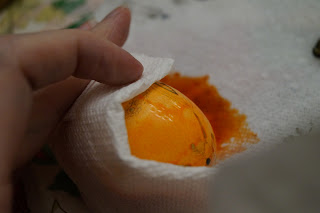
Wipe off excess dye on a paper towel.
Using the kistka cover with wax the lines and sections you want to be the lightest color. We used orange.
Once all the sections you want orange are completely covered in wax, dip the egg in the medium color. The egg will float, use a spoon to hold the egg down into the dye.
Once the color is the desired shade, remove form the dye.
Wipe off excess dye on a paper towel.
Using the kistka cover with wax the lines and sections you want to be the medium color. We used blue.
Once all the sections you want blue are completely covered in wax, dip the egg in the darkest color.
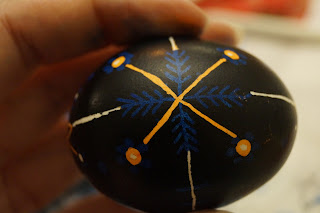
We used black.
The egg will float, use a spoon to hold the egg down into the dye.
Once the color is the desired shade, remove form the dye.
The egg will float, use a spoon to hold the egg down into the dye.
Once the color is the desired shade, remove form the dye.
Wipe off excess dye on a paper towel.
Carefully, using the candle, melt a section of the wax off the egg and wipe with a paper towel. Do not hold the egg to close to the fire or it will leave burn marks on the egg. Do not hold the egg over the fire or it will also cause burn marks on the egg. It is best to hold the egg off to the side of the flame.
Once the wax is completely removed and the egg is dry put on clean latex gloves. Put a few drops of polyurethane (Not water based, or it will remove the dye) on the non-latex glove and rub over the egg.
Let the egg dry and you are done.
Enjoy these beautiful eggs.
If you are careful with them, they will last a lifetime.
Don't forget to leave a comment and share with your friends!
If you liked this post, you might also like:

