It's been a while since I've had a chance to add our fun times to the blog. We've had a crazy year to say the least. A house fire displacing our family, a few surgeries including my hand, and rebuilding.
Last Halloween we were in a rental home equipped with only rented kitchen supplies. Needless to say, they didn't include much in the baking department.
I have been wanting to make a creepy leather face type pie for Halloween for a few years now. We usually go all out for Halloween with food and decorations. Being in our rental home we had very little of our own stuff, meaning no decorations. Everything was being cleaned from the smoke and water damage.
Ideally, I would have liked to make home-made pie shells and pie filling, but with lack of supplies and a recent hand surgery, I decided to purchase two frozen shells and a can of cherry pie filling.
I let the two pie crusts defrost on the counter. Then, I turned one upside down on the counter.
I decided to cut the edge off.
I saved what I cut off to build the nose and lips.
I cut two eyes with just a regular parring knife.
From the cutout eye pieces, I cut eyelids for the top and bottom.
I kind of popped them up as if they had eyeballs in them.
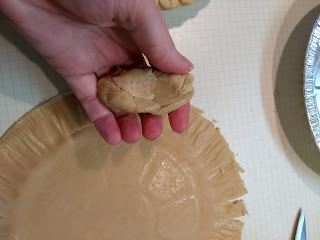
I took a chunk of the left over edge dough and rolled it into a ball.
I got the dough wet to help glue it down.
I rolled out some more of the edge dough and shaped the nose
I began to cut out the mouth.
Save the mouth piece to make lips.
I used the full mouth piece for the bottom lip.
I used a piece of the leftover edge piece to form the upper lip.
It's creepy already!
Fill the remaining piecrust with the pie filling. Leave a little behind in the can.
Place your created face on top of the pie filling.
I put a cherry in place of each eyeball.
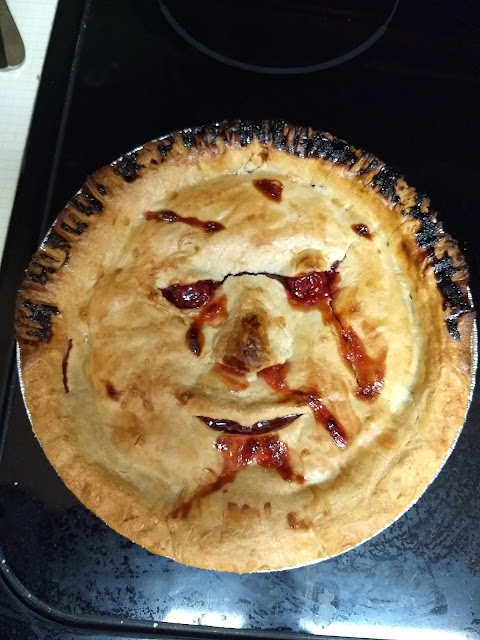
Then, I dripped some of the pie filling to look like blood.
I used a fork to press out the edge to look like hair.
I dripped some of the pie filling thinking it would get dark on the edge looking more like hair.
In reflection I would skip this step, it just kind of burned.
I covered the bottom of the pie edge with foil to keep it from browning too much.
I wish I would have put it around the entire edge.
I put my creation in the oven and baked it according to the directions on the pie shells.
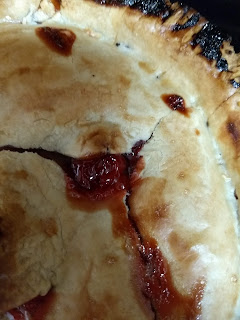
I think he turned out pretty AWESOME, other than there were a few cracks.
Leave a comment and let us know how yours turns out.
If you liked this post, you might also like:


and there are many more fun Halloween ideas on the blog, just search through it.


